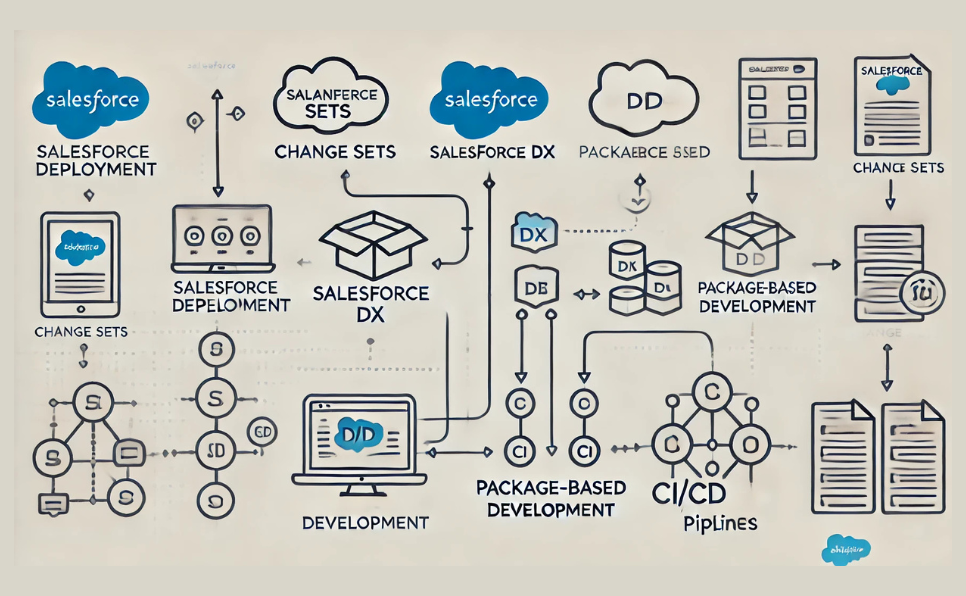
Deploying code to production is a crucial step in the software development lifecycle, especially in Salesforce environments where changes are frequent, and accuracy is paramount. Visual Studio Code (VS Code) coupled with the Salesforce CLI (Command-Line Interface) offers a powerful combination for Salesforce developers to streamline code deployment. This article provides a comprehensive guide on pushing code to production with VS Code and Salesforce CLI.
Prerequisites
Before you start, ensure the following are in place:
- Salesforce CLI: Installed on your local machine. You can download it from Salesforce CLI.
- VS Code: Installed and configured for Salesforce development. Install the Salesforce Extension Pack in VS Code.
- Authenticated Salesforce Org: You should have an authenticated production org or sandbox to deploy to. Ensure your deployment user has the necessary permissions to deploy code to production.
Step 1: Set Up Your Project in VS Code
- Open VS Code and navigate to
View>Terminalto open the terminal. - Run the following command to create a Salesforce DX project if you haven’t already. Replace
my_projectwith your preferred project name.
sf project generate --name my_project- If your project exists locally, open it in VS Code by navigating to
File>Open Folder.... - Organize Components: Ensure all components (Apex classes, triggers, Visualforce pages, etc.) are organized within the project directory. By default, Salesforce DX projects use the
force-appdirectory for metadata, located at:force-app/main/default - Create a
package.xml(Optional): You can create apackage.xmlfile to define specific components to deploy, especially useful when you want to deploy a subset of components.- The
package.xmlfile should be located in the manifest directory. - This XML file specifies the metadata components to deploy, ensuring they’re available in the project directory.
- The
Step 2: Authorize Production or Sandbox Org
To push code to production, you must authorize Salesforce CLI to access your target org.
- In your VS Code terminal, use the following command to authorize your org. This command will open a web browser for you to log in to Salesforce. Once you log in successfully, it authorizes the CLI to interact with the org.
sf org login web --instance-url https://login.salesforce.com --set-default --alias production- To confirm that your org has been authorized, you can list all authorized orgs.
sf org listStep 3: Prepare for Deployment
- Run Test Classes for Code Coverage
In Salesforce production orgs, it’s essential to maintain a minimum of 75% code coverage for Apex classes and triggers, or deployments will fail. Ensure you’re running tests in production during validation. Running tests proactively helps catch errors early and guarantees a smoother deployment.
- Validate Entire Package Against Production (Recommended)
Before pushing to production, it’s crucial to validate the entire package to identify any issues with components or test class coverage.
This command ensures all Apex classes meet the minimum code coverage. It performs a “dry run” that flags potential issues without committing changes. It’s especially useful for catching compatibility or test coverage issues early.
sf project deploy validate --source-dir force-app --test-level RunLocalTests --target-org productionUse this command if you want to use package.xml for the validation and deployment:
sf project deploy validate --manifest manifest/package.xml --test-level RunLocalTests --target-org productionUse this command if you want to run only specified test classes for the validation. Replace TestClass1 TestClass2 with the original test class names in the command.
sf project deploy validate --source-dir force-app --test-level RunSpecifiedTests --tests TestClass1 TestClass2 --target-org productionStep 4: Push Code to Production
With your code ready and validated, you can now deploy it to production.
- Quick Deployment: Salesforce offers Quick Deployment from the Deployment Status page. This option is available if a recent validation was successful, allowing you to deploy without re-running tests.
- Navigate to Setup > Deployment Status.
- Select the recent validation, and choose Quick Deploy to push changes directly to production without re-running tests.
- Alternatively, deploy recent validation using Salesforce CLI command:
sf project deploy quick --use-most-recent --target-org production- Deploy Using Salesforce CLI: This command deploys to production by running specified test classes. Replace TestClass1 TestClass2 with the original test class names in the command.
sf project deploy start --source-dir force-app --test-level RunSpecifiedTests --tests TestClass1 TestClass2 --target-org production- Monitor Deployment Status: Salesforce CLI provides feedback in the terminal. If there are any issues, the CLI will list errors and details, making troubleshooting straightforward.
Step 5: Post-Deployment Steps
After a successful deployment, it’s important to perform a few post-deployment checks to ensure your changes are functioning as expected.
- Verify Components: Check that all metadata, such as custom objects, classes, and configurations, are updated correctly in production.
- Run Manual Tests: For changes affecting UI or user experience, it’s essential to run a quick round of manual tests.
- Monitor Logs for Errors: Check the Salesforce logs or monitoring tools to ensure no unexpected errors occur after deployment.
Best Practices for Pushing Code to Production
- Use Sandboxes: Always test in a sandbox environment before deploying to production.
- Leverage Source Control: Use Git or another version control tool to manage code changes and facilitate rollbacks if needed.
- Automate Tests: Set up automated tests in your deployment pipeline to catch issues early.
- Document Your Changes: Keeping detailed documentation helps your team track deployments and understand changes in production.
Troubleshooting Common Issues
- Insufficient Permissions: Ensure your deployment user has the necessary permissions, especially if deploying to a production org.
- Dependency Issues: If dependent metadata is missing, deploy it first or include it in the same deployment.
- Test Failures: Ensure all tests pass in a sandbox before deploying to production to avoid surprises.
Conclusion
Deploying code to Salesforce production using VS Code and Salesforce CLI is a reliable and efficient way to manage code changes. By following the steps outlined above and adhering to best practices, you can ensure a smooth and successful deployment process. Mastering these tools will enhance your deployment efficiency and overall productivity as a Salesforce developer.


